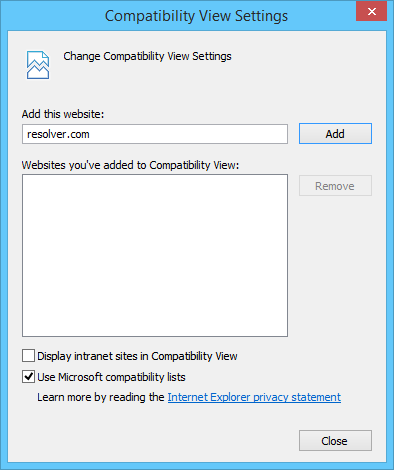
1. Ensure Compatibility View is turned off in Internet Explorer:
a. Click the gear icon in the top right of the browser.
b. Click Compatibility View Settings.
c. Ensure the Display intranet sites in Compatibility View checkbox is unchecked.
d. Click Close.
2. Navigate to your Perspective Services URL:
· For On Premise customers: https://<servername>/PerspectiveServices. <servername> refers to the Perspective Web server installed with Perspective.
· For Hosted customers: https://<businessID>.myincidents.com/perspective/
3. Click the Perspective icon.
4. If launching Perspective for the first time:
a. Click Run in the Security Warning window.
b. Configure your login settings:
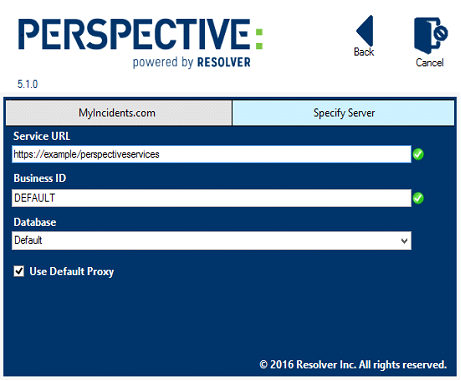
· For On Premise customers:
i. Click the Specify Server tab, if it’s not already open.
ii. If needed, enter the Perspective Services URL (e.g. https://<servername>/PerspectiveServices) in the Service Folder field.
iii. If your business ID is different from default, enter it in the Business ID field.
Note: The  icon indicates that valid information has not yet been entered into mandatory fields. When the required information has been validated, the
  will appear next to the fields.
iv. Select the database from the Database Name dropdown menu.
v. Click  Back to return to the previous screen.
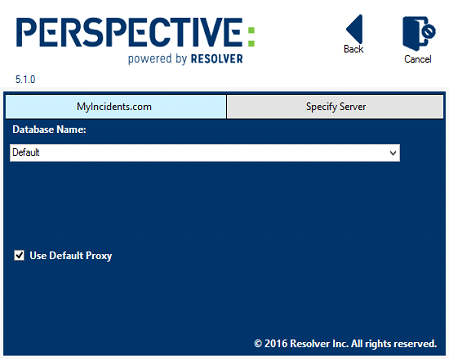
· For Hosted customers:
i. Click the MyIncidents.com tab.
ii. Confirm the database selected in the Database Name dropdown is correct.
iii. Click Back to return to the previous screen.
Note: If the Database Name field is missing or login fails, click the Specify Server tab to confirm the Service URL, Business ID, and Database fields have populated correctly.
5. Enter your login credentials:
Note: If your system uses Windows® authentication, the login will be performed automatically. To switch back to the standard Perspective login, press the F5 key on your keyboard.
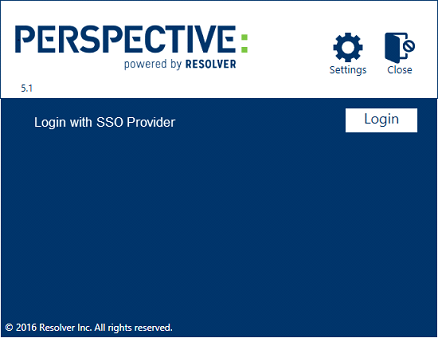
a. If you’re logging in using single sign-on (SSO) authentication:
i. Click Login.
ii. Enter your username, password, and any other information required by your SSO provider to complete the login process. The SSO settings, including the amount of time your session remains active, are determined by the SSO provider selected by your Perspective administrator.
Note: If both SSO and Perspective authentication are enabled on your system and you want to log in using your Perspective credentials, click Login with Perspective, then enter your user name and password. This option will only appear on the login screen if both Perspective and SSO authentication were enabled at the time of installation or update.
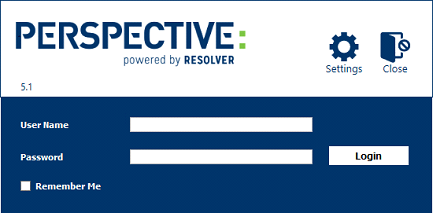
b. If you’re not logging in using single sign-on (SSO) authentication:
i. Enter your user name and password in the User Name and Password fields.
ii. Select the Remember Me checkbox if you want Perspective to remember your user name.
iii. Click Login.