|
|
Save
|
Preserves the changes you made to an e-Report.
|
|
|
Edit
|
Transfers an editable e-Report into the editing mode.
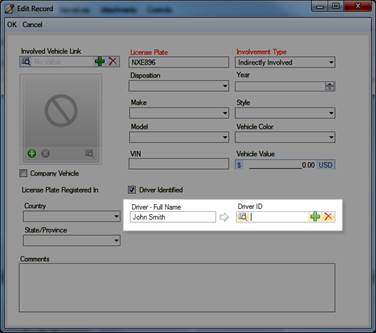
After clicking Edit, select the field you want to edit and make the necessary change. Editing of e-Reports functions similarly to the data entry in Incidents data forms, including the use of a similar set of sub-tabbed toolbar functions, like Edit, Add New, Remove and Read/View. Remember to complete every report editing action with saving the changes applied to the report by clicking Save on the Viewing pane toolbar.
Note: For further details on the sections of the e-Incident report and functions performed by the toolbar functions that are available for certain sub-tabs (i.e., Involved Persons, Organizations, Vehicles, and Items), see the Incidents and Common Record Functions chapters.
Note: The only editing function that is exclusively under the authority of the Gateway Administrator is setting of the e-Incident’s security controls in the Controls tab (access level, organizational rollup and workgroup visibility). Although the e-Incident will have some default security controls, the Gateway Administrator may choose to re-set these in order to restrict both the Gateway Approver the e-Incident is assigned to (the Approver’s access rights must match those of the e-Incident in order to assess it), as well as users who have access to the record within Perspective if it is accepted as a valid Incident record.
|
|
|
Close
|
Exits the e-Report without saving changes.
|
|
|
Assign
|
Assigns the e-Incident to the Gateway Approver for further review by transferring the e-Incident to the Assigned folder.
Once you click the Assign button, a pop-up confirmation window will appear. Make any necessary notes on the assignment of this e-Incident in the Comments text box. Your notes will appear in the Reviews section of the e-Incident under the General tab. Click Assign to confirm your choice.
Note: The Gateway Approver’s access rights must match those designated under the e-Incident’s Controls tab.
|
|
|
Delete
|
Deletes an e-Incident as an invalid submission by transferring the e-Incident to the Deleted folder.
Once you click the Delete button, a pop-up confirmation window will appear. Make any necessary notes on the deletion of this e-Incident in the Comments text box. Your notes will appear in the Reviews section of the e-Incident under the General tab. Click Delete to confirm your choice.
Note: e-Incident can be recovered anytime prior to the end of Deleted Retention Period specified for the e-Incident’s workgroup by the System Administrator.
|
|
|
Accept
|
Accepts an e-Incident into Perspective as a valid Incident record, by transferring it to the Accepted folder. The accepted e-Incident will be available to users whose access rights match those designated under the e-Incident’s Controls tab.
Once you click the Accept button, a pop-up confirmation window will appear. Make any necessary notes on the acceptance of this e-Incident in the Comments text box. Your notes will appear in the Reviews section of the e-Incident under the General tab. Click Accept to confirm your choice.
A dialog box will appear displaying the e-Incident’s new Perspective Incident Number. For cross-referencing purposes, both the original e-Incident Number (e.g., INC-2010-000269) and the new Incident Number (e.g., EINC-2010-12-00001) will appear under the Record Information in the General tab of both the e-Incident record and the actual Incident data form. Click OK.
Note: The accepted e-Incident will be purged from the Gateway at the end of the Accepted Retention Period specified for the e-Incident’s workgroup by the System Administrator. The original e-Incident form will remain in Perspective as an attachment to the newly created Perspective Incident record.
|
|
|
Reject
|
Sends an e-Incident back to the Gateway Administrator for further review by transferring it to the Rejected folder, so that it could be re-assigned or deleted.
Once you click the Reject button, a pop-up confirmation window will appear. Make any necessary notes on the rejection of this e-Incident in the Comments text box. Your notes will appear in the Reviews section of the e-Incident under the General tab. Click Reject to confirm your choice.
To evaluate the reasons for the e-Incident’s rejection by the Gateway Approver, edit the e-Incident, and/or delete or assign it again, the Gateway Administrator hat to access the rejected e-Incident from the Rejected folder.
|
|
|
Pending
|
Sets an e-Incident to Pending status, by storing it in the Pending folder. This function is used when there is insufficient information to accept or reject the e-Incident, and the Gateway Approver intends to make its review at a later date.
Once you click the Pending button, a pop-up confirmation window will appear. Make any necessary notes on the pending of this e-Incident in the Comments text box. Your notes will appear in the Reviews section of the e-Incident under the General tab. Click Pend to confirm your choice.
|
